Table of Contents
Why you need this article
System Memory is usually the most stable component in a computer build but sometimes failing sticks can cause errors, crashes or issues with applications. You can run the Windows Memory Diagnostic (bottom) which occasionally will identify a memory error, but the PassMark MemTest86 software is far more effective and robust. This guide will walk you through each tools purpose, how to initiate them, and then what to learn from the outputs.
While the Windows Memory Diagnostic is a relatively new tool, it's very easy to run and is occasionally successful. MemTest86 on the other hand has been around for over a decade and if there is a problem with the memory, it absolutely WILL identify it.
PassMark MemTest86
The best download location we have found is directly from the PassMark website:
Image for creating bootable USB drive is the one we will select for this guide
1. Download the folder then extract, within the download you will find an imageUSB executable so we will utilize that to create the bootable USB. Launch the application and select the USB device from the list of options then click Write to UFD
2. Once it finishes, leave the USB device plugged in, reboot the system, and boot from the USB (F8 for most Puget computers)
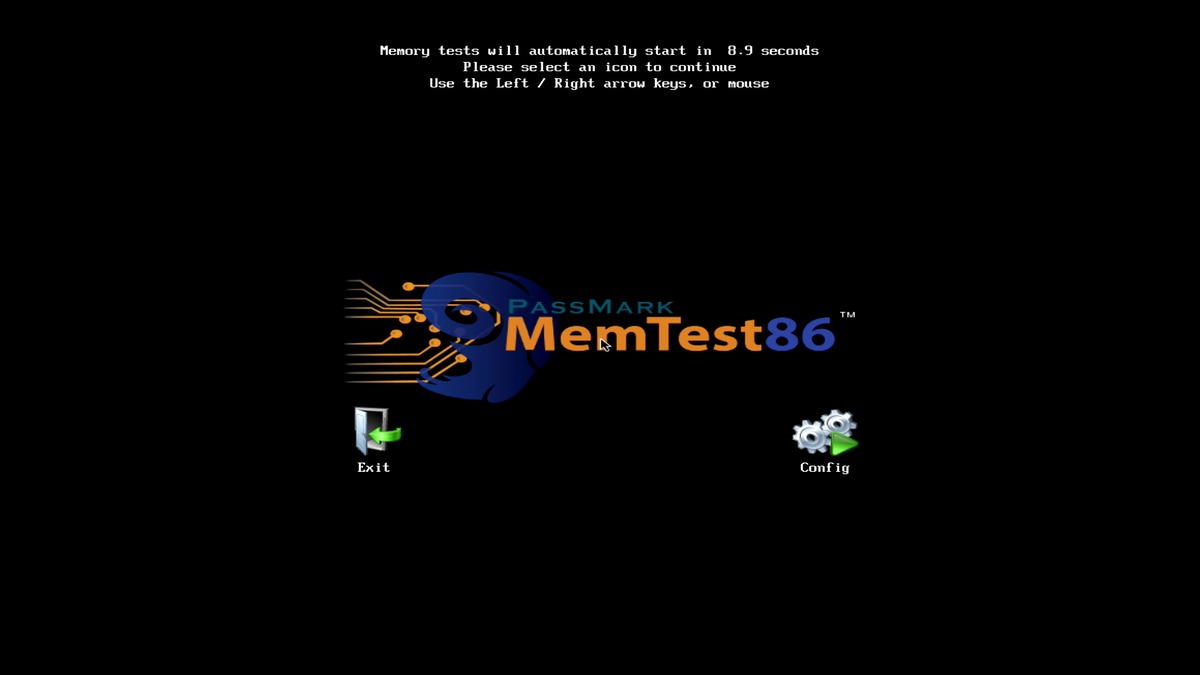
Once booted, MemTest86 actually automatically starts to run after a few seconds and will run four passes before finishing
Leave all settings as default and let the tests run (usually overnight). You should see a screen like this:
We recommend allowing MemTest86 to run a full scan regardless of how long it takes. On systems with more than 64gb of RAM it can take more than an overnight stint, but it's worth it to let MemTest86 run as many passes as it needs. If you need, you can hit the ESC key to exit early and reboot the machine into Windows (remove the USB).
Windows Memory Diagnostic
Modern versions of Windows have a built-in tool to help diagnose memory issues and will even run automatically when errors are detected though that's rare. Instead, running the tool manually is usually required but thankfully that's a very simple process.
1. Select the Start icon in the bottom left
2. Type Windows Memory Diagnostic then select the first option
3. In the prompt, select Restart now and check for problems (recommended)
Your system will reboot and the Windows Memory Diagnostic tool will automatically start to scan your memory for errors
The Windows Memory Diagnostic does not take as long as MemTest86 and while occasionally it will identify a problem, it's not as effective as MemTest86. Once the test completes, Windows will continue to start and a pop-up will eventually appear showing the results.
Conclusion
Memory errors can cause a litany of problems, many of which can be challenging to diagnose, using memory testing capabilities provides a simple, intuitive, automated, and thorough diagnostic that often identifies memory issues. While the Windows built-in memory diagnostic can be helpful, we recommend using MemTest86 if at all possible as it's far more powerful. If errors are detected, reseating the memory (removing and reinstalling) can sometimes correct the errors, but most of the time a replacement stick of memory is needed. Reach out to your Puget Systems Technical Support for help identifying which stick or if you need help replacing the culprit memory.
Need help with your Puget Systems PC?
If something is wrong with your Puget Systems PC, we are readily accessible, and our support team comes from a wide range of technological backgrounds to better assist you!
Looking for more support guides?
If you are looking for a solution to a problem you are having with your PC, we also have a number of other support guides that may be able to assist you with other issues.
