Table of Contents
SG10 Drive install
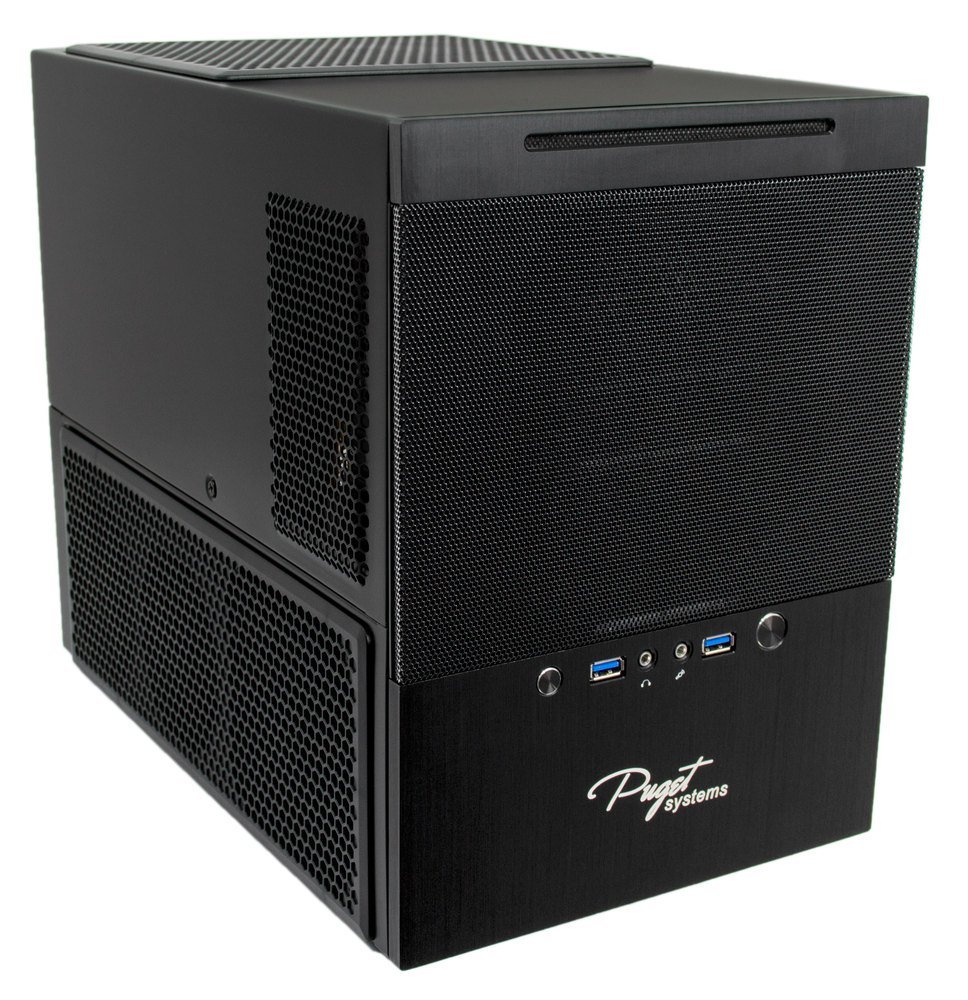
The SG10 is a hugely versatile case and installing additional devices is fairly easy and straight forward. In this article we will cover installing a 3.5" HDD into the rear mounting brackets then move on to 2.5" SSDs in the lower mounting bracket. As always, if you have any questions please don't hesitate to reach out to the Puget Systems support department, we are here to help. Enjoy!
Below is a video detailing the process and below that are written steps.
Installing 3.5in HDD
This section will cover the installation of 3.5" HDDs in the rear mounting plate.
Step 1:
Start by removing the 3 thumb screws from the rear of the system and the 1 standard screw from the side of the system.
Step 2:
Remove the casing by sliding straight back then lifting vertically from the system. The casing can easily be damaged so make sure to set it aside somewhere safe.
Step 3:
Remove the 4 screws securing the back-plate to the rear of the system then pull the back plate out of the system. Set the system aside and begin the HDD installation.
Step 4:
Flip the HDD over, flip the back-plate over and line up the screw holes. Secure all 4 screws into the HDD and will connect cables then install mounting plate with drive back into the SG10 chassis. Bend the cables over to avoid collision with the 2.5" brackets.
Step 5:
Secure the bracket into the chassis with the 4 screws we removed earlier.
Step 6:
Run the SATA cable back toward the front of the system and connect to the motherboard. Now run the power cable into the PSU and snap into the appropriate "Peripheral/PCI-e/SATA" port.
Step 7:
With the drive fully installed you can now organize cabling with zip ties or velcro
Step 8:
We will now close up the system by sliding the casing down from the top then slide it forward into place. Secure the side screw then the right hand thumbscrew.
Step 9:
Lay the system on it's right side and snap the side panel into place then secure the thumb screws on the rear of the system.
Installing 2.5in SSD
This section will cover the installation of 2.5" SSDs in the rear mounting brackets.
Step 1:
Start by removing the 3 thumb screws from the rear of the system and the 1 standard screw from the side of the system.
Step 2:
Remove the casing by sliding straight back then lifting vertically from the system. The casing can easily be damaged so make sure to set it aside somewhere safe.
Step 3:
Remove the 4 screws securing the 2 independent brackets to the rear of the system then pull the brackets out of the system. Set the system aside and begin the HDD installation.
Step 4:
With the brackets fully removed from the system, attach them to each side of the SSD using 4 SSD screws from your accessories box.
Step 5:
We will now install the SSD brackets back into the SG10 chassis securing with the 4 screws we removed in step 3. Connect the SATA and power cables to the rear of the SSD
Step 6:
Run the SATA cable back toward the front of the system and connect to the motherboard. Now run the power cable into the PSU and snap into the appropriate "Peripheral/PCI-e/SATA" port.
Step 7:
With the drive fully installed you can now organize cabling with zip ties or Velcro
Step 8:
We will now close up the system by sliding the casing down from the top then slide it forward into place. Secure the side screw then the right hand thumbscrew.
Step 9:
Lay the system on it's right side and snap the side panel into place then secure the thumb screws on the rear of the system.
Need help with your Puget Systems PC?
If something is wrong with your Puget Systems PC, we are readily accessible, and our support team comes from a wide range of technological backgrounds to better assist you!
Looking for more support guides?
If you are looking for a solution to a problem you are having with your PC, we also have a number of other support guides that may be able to assist you with other issues.
