Table of Contents
Why you need this article
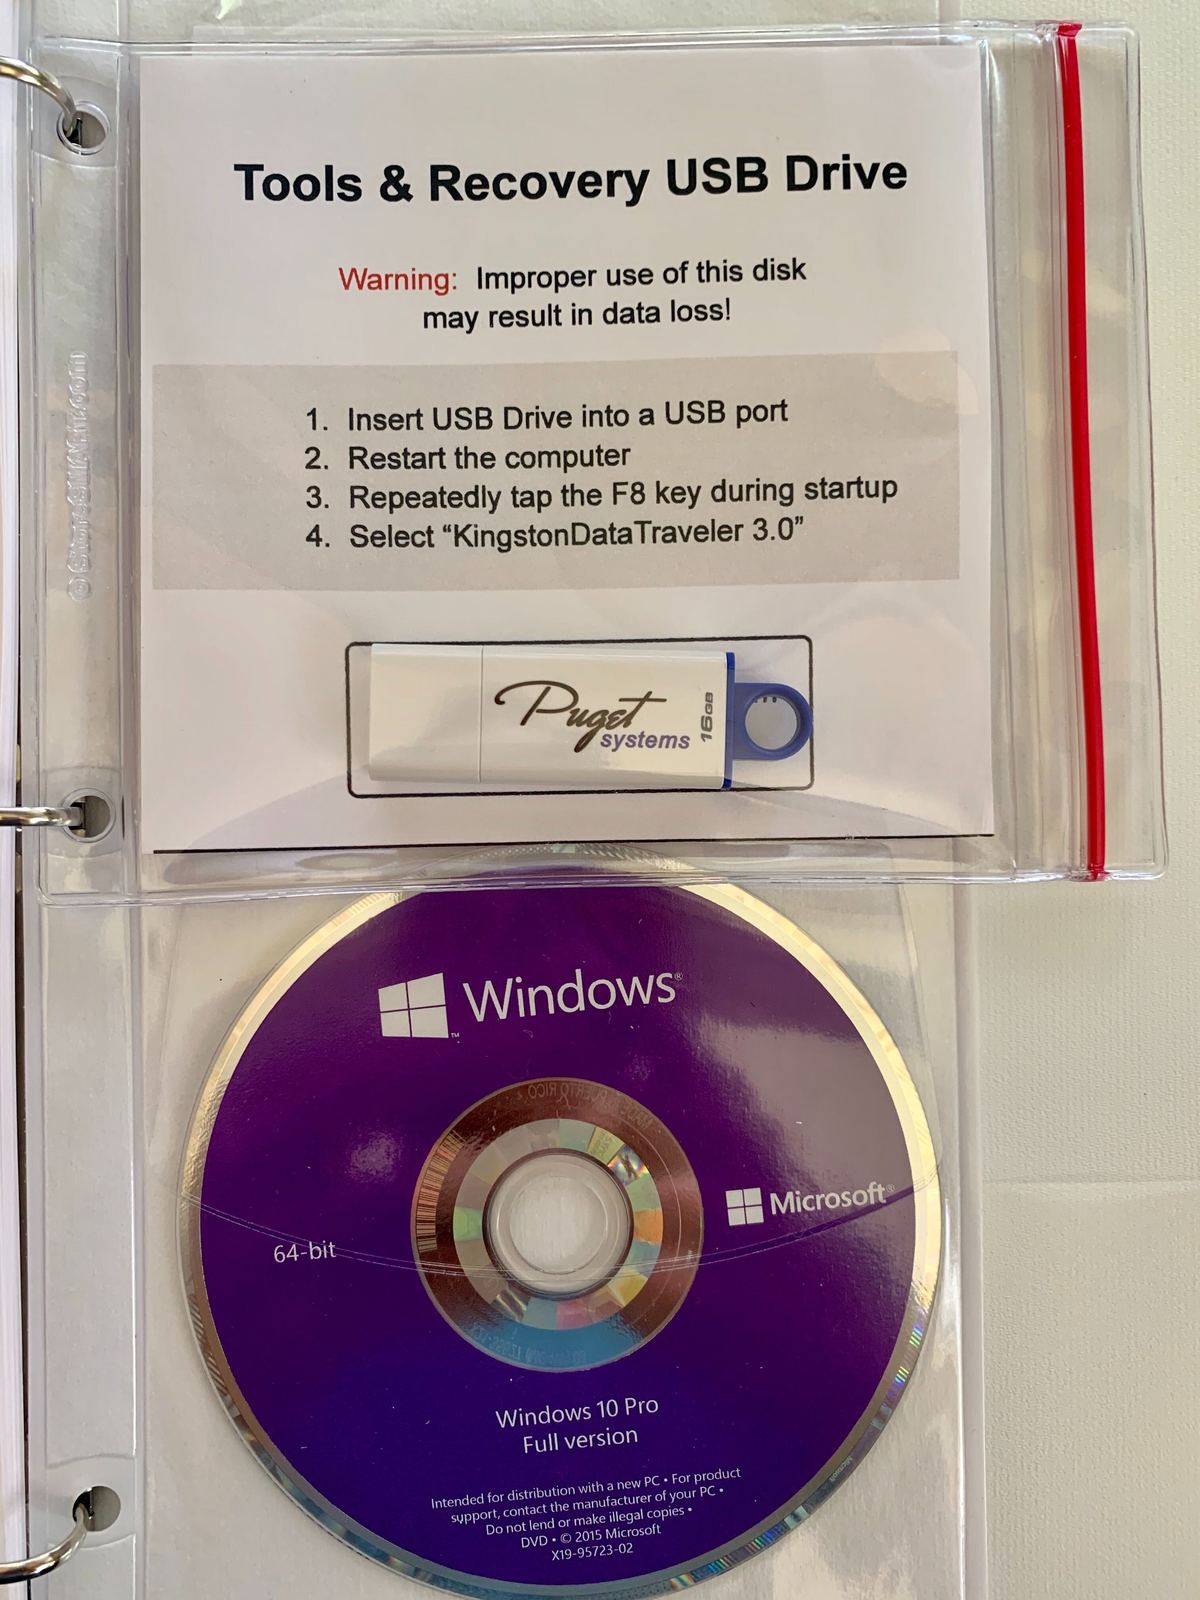
All Puget Systems builds come with an accessories binder and in the back of that binder you will find our ‘Puget Tools’ USB. Packed on this USB is a plethora of useful tools. This guide will detail how to access and fully utilize each of these tools if the need arises.
Accessing the USB drive
While the computer is turned off, grab the ‘Puget Tools’ USB from your accessories binder
1. Insert the USB into a 3.0 (blue) port on your Puget computer
2. Power on (or restart) your computer
3. Depending on your motherboard, press the following key to access the boot menu
ASUS: F8
Gigabyte: F12
MSI: F11
ASRock: F11
4. Select “UEFI: SanDisk, Partition 1”
Depending the age of your system, yours may read 'KingstonData Traveler, Partition 1'
The first screen you should see is our “Puget Systems Tools & Recovery V.20.05” landing page.
Which Tool to use
Most likely your Puget Support Technician will advise which tool they want you to utilize and include instructions for how to use, but if not, here is a breakdown of each tool and it’s purposes.
PassMark MemTest86 V8.4
MemTest86 boots from a USB flash drive and tests the RAM in your computer for faults using a series of comprehensive algorithms and test patterns. Bad RAM is one of the most frustrating computer problems to have as symptoms are often random and hard to pin down. MemTest86 can help diagnose faulty RAM (or rule it out as a cause of system instability).
Puget Systems Windows Image Recovery
During the Windows installation process we generate an image of YOUR system giving you the ability to restore your system back to our factory defaults. This process is quick, simple and automated. Simply launch the Image Recovery and once it’s running, select the green button labeled ‘Perform a factory restore of your system’. The system will restart a number of times, reinstalling the OS, drivers, software, and configuring all settings needed. Details on this process can be found in the How to Use Restore article.
The system should reboot into the Out of Box Experience, follow the guidance in this article.
Start Puget Systems Live Environment 64-bit
Puget Systems has included a live environment for many years in order to provide a location, outside of Windows, to perform numerous tasks such as:
- Troubleshoot networking
- Verify hardware functionality
- Test display configurations
- Access storage and move files around
- Monitor system temperatures
- Access system information
"Puget Systems Live Environment (Compatibility mode)" offers a reduced graphics environment in case you are primarily diagnosing a faulty GPU/Video Card
Automatic Disc Eject Tool
This tool is designed for use with our slim-slot load DVD drives in the event you are having trouble ejecting a DVD/CD drive.
Conclusion
These tools are extremely useful so having easy access to them will help you diagnose any issues quickly and efficiently. Generally, our Puget Support Technicians will provide all the information needed in order to fully utilize each of these tools so this article is designed as an educational piece. If you end up needing any additional support, please don’t hesitate to reach out.
Need help with your Puget Systems PC?
If something is wrong with your Puget Systems PC, we are readily accessible, and our support team comes from a wide range of technological backgrounds to better assist you!
Looking for more support guides?
If you are looking for a solution to a problem you are having with your PC, we also have a number of other support guides that may be able to assist you with other issues.
